All the boards I currently rotate between (3 at this time) have factory soldered hotswap sockets. I haven’t done much soldering myself, none on keyboards in particular. For PCBs that come assembled or unassembled I prefer to pay a bit more for assembled because it’s generally not a huge difference. Unfortunately some don’t offer that option.
I have a solderable PCB of one of the first custom boards I got a few years back and I still haven’t gotten to building it - I couldn’t commit to a specific switch, the PCB doesn’t support soldering hotswap sockets, and adding millmax ones seemed too much of a hassle. Moreover at one point they announced they’ll supply hotswap PCBs, so I’m probably going that route.
Two hotswap boards, then switched to handwiring and designing cases - much more fun.
Oh I thinking of the questions’ context: For the handwired builds I use 3d printed hotswap sockets and keep all parts reusable.
One thing I love about Lemmy is that posts like this show up and I learn of a hobby/activity that I never knew existed.
As a layperson who uses inexpensive fell off a truck level mechanical keyboards, I think it’s great that people are out there building their own.
If you want to learn more, Joe Scotto’s YouTube channel has a lot of great tutorials and builds.
The whole spectrum: First a bought a pre-built board, then had a friend build one for me. Finally, I got over my fear of solder, bought the inexpensive equipment and gave it a tried. Made one $10 mistake on the first try and did a good-enough job on the second try.
I look forward to fixing more things now that I have this skill. I already used it to help repair an e-bike connector that came loose.
3rd party MJF printed, but then i handwired and soldered the 6x5 orthosplit.
Get solid core wire and prepare to debug. But hey, you learn your Keyboard back to front. It’s good feeling afterwards :) also knowing you can fix it no matter what.
Journey not the destination.etc etc.
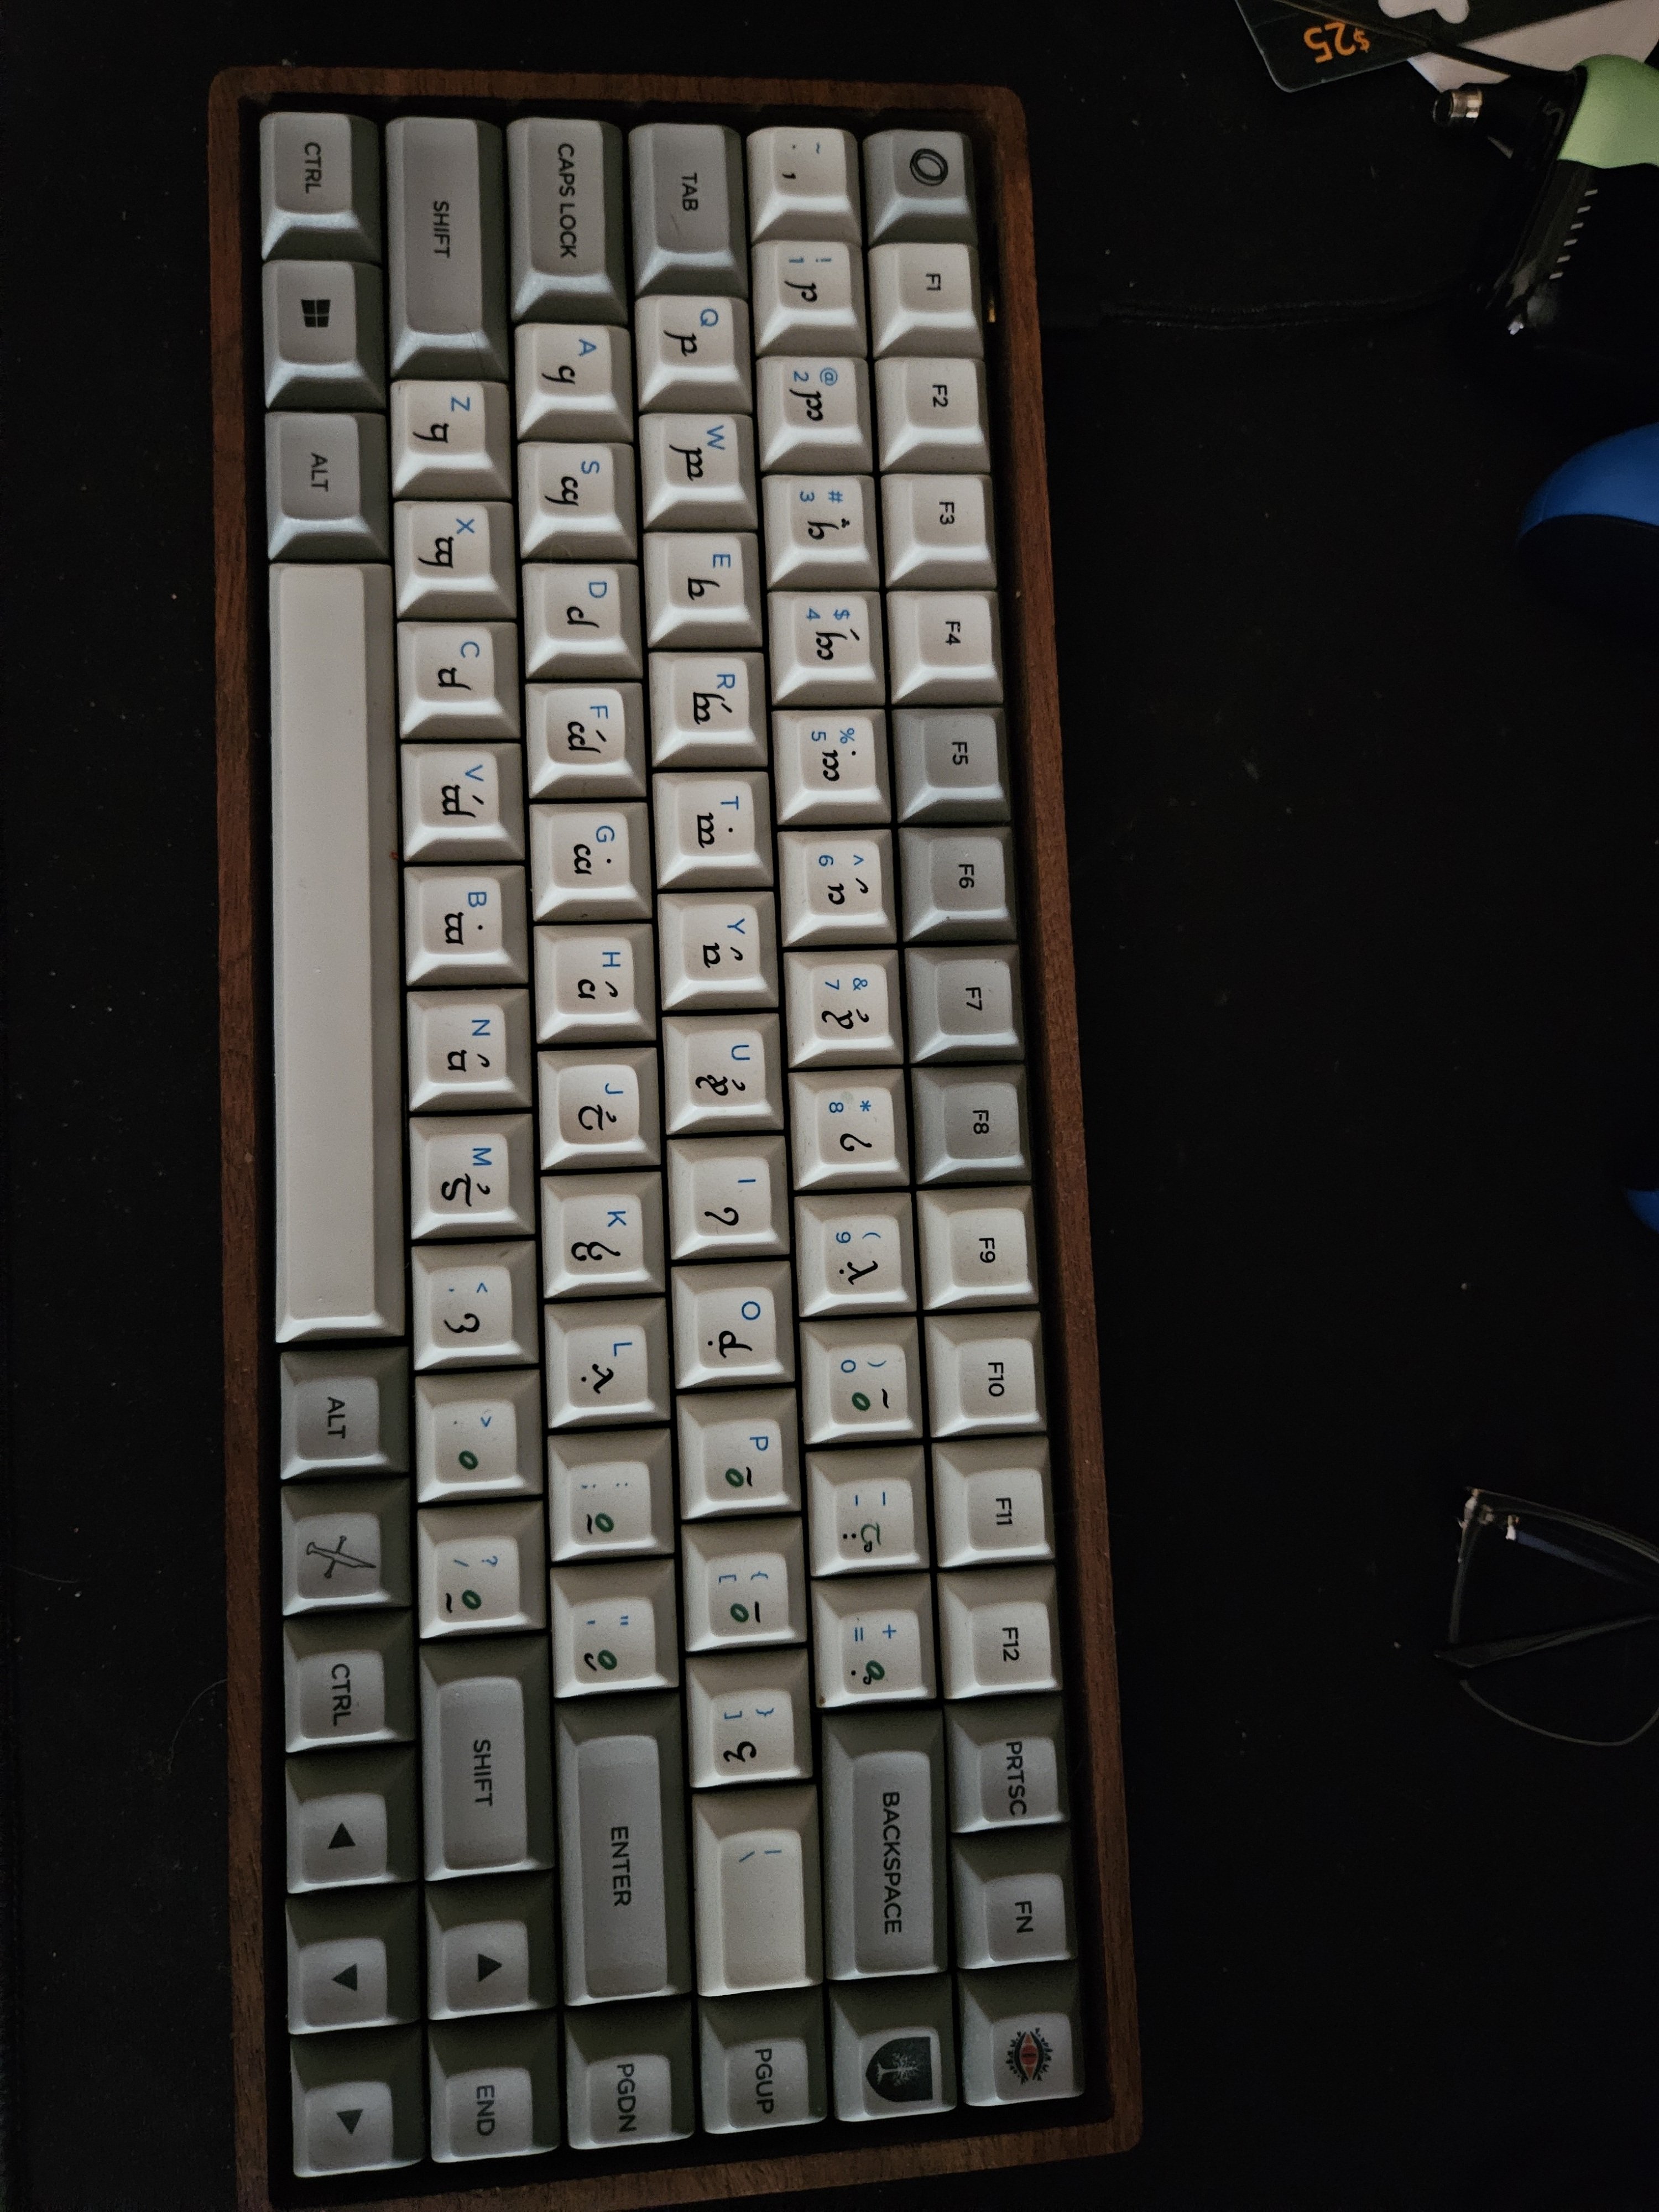
I have four custom keebs. The first three I soldered myself. My current home one is this:

My work one is prebuilt. I tried to solder it myself and may go back and fix the boards I have but I was so baked I put the lights on upside down, all of them.
Here’s the prebuilt at work:

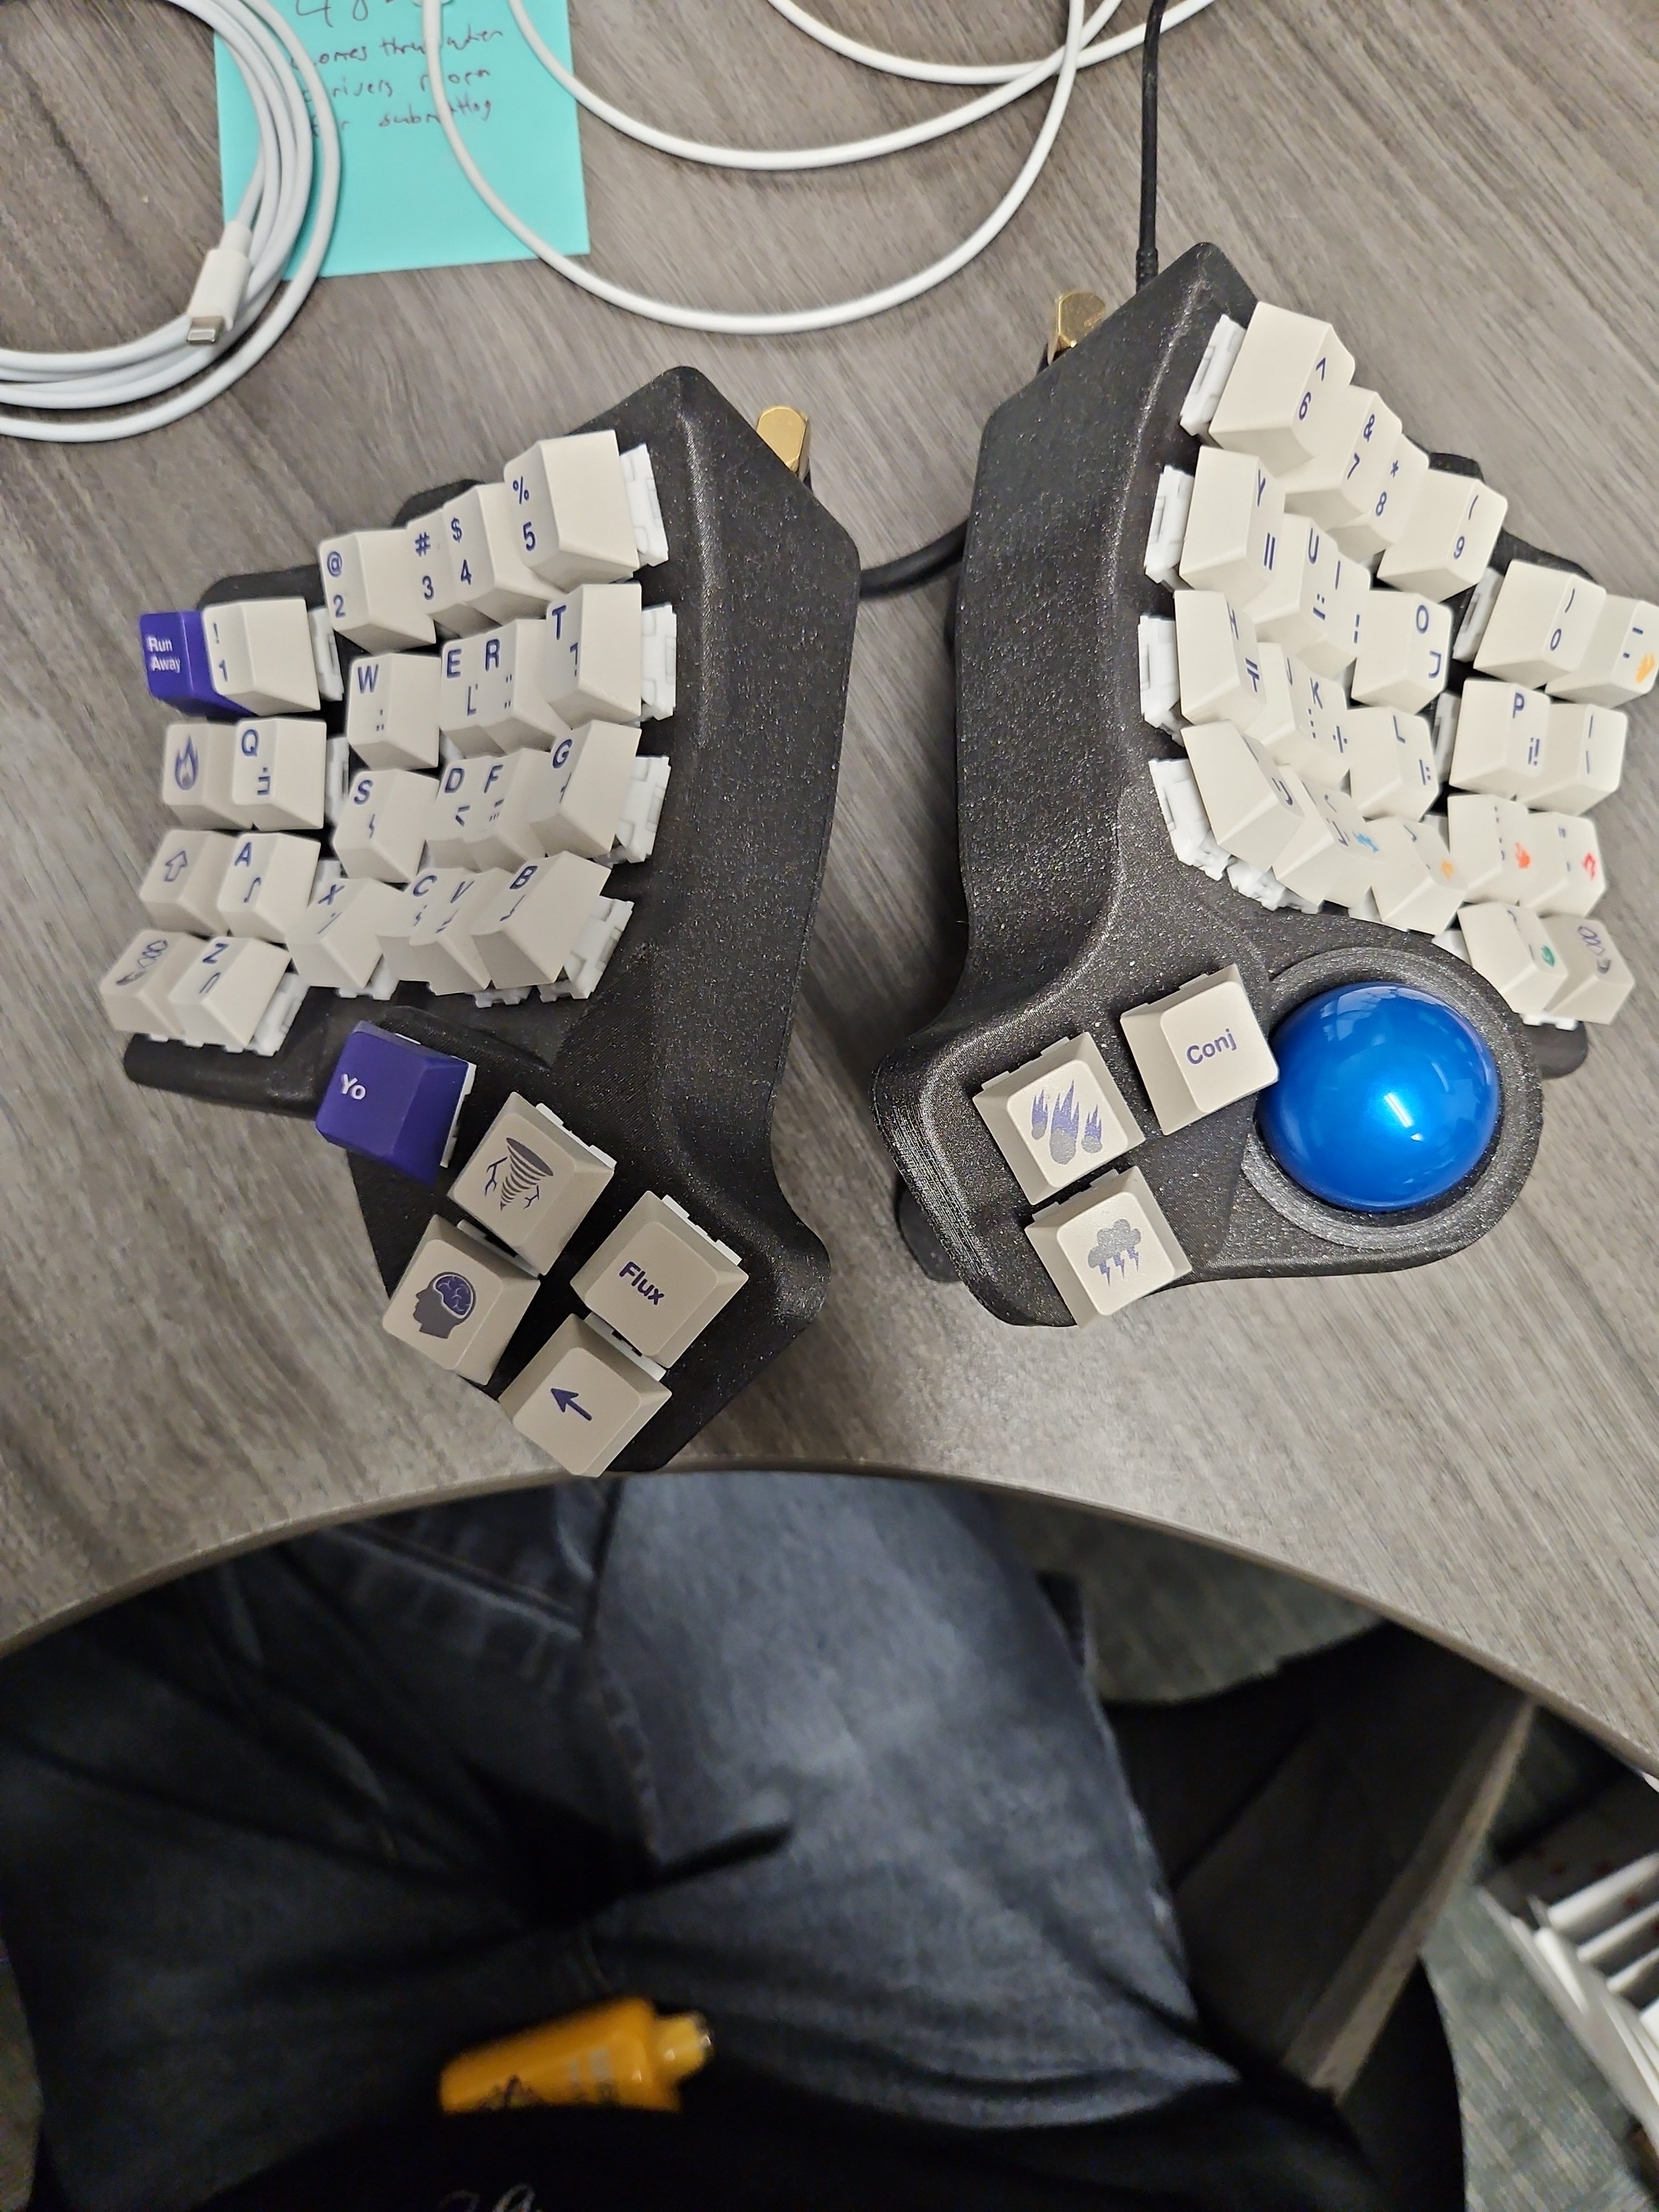
Handwired.
I got friends to solder most of my keyboards and had one commissioned.
I could maybe still do it myself, but I don’t have the gear these days, and it’s also a really interesting hobby to share.
Thank you for your comment. I might try to do this, could be a nice option to share it with other people in my area
Exactly. I’ve been looking for keyboard meetups in my area, but the closest thing I’ve found is Keychron boards at the office. Hehe.
I bought a built one from ZSA.
Prebuilt - Atreus from keyboard.io
First keeb soldered, second keeb soldered too, third keeb designed, 3D printed and handwired 😅
3D printed snd hand wired… by someone else
Current one I soldered myself, but the cheap iron I got from Amazon does not get hot enough on the smallest tip to allow me to solder the lights, so for now it’s not backlit. Also one of the keys fails every once in a while even though everything is soldered correctly, I think it’s the controller, LPT if you have a split keyboard with an TRRS cable, don’t unplug the TRRS while the keyboard is plugged, apparently that can cause power surges, which I only read after doing that, and starting getting that error with that key… Luckily I planned ahead and have the chip built on a plug, so all I have to do is buy a replacement and solder the pins, but since most of the time it works I keep forgetting about it.
I soldered a Planck kit, then an Iris v2 kit, then bought a recent Iris with hot swap and all that jazz when the first started acting up and I couldn’t figure out why.
I want to start actually making stuff - really interested in a Dactyl-like contoured board - and I have most of the stuff I would need for the electronics side of things, maybe upgrade the cheap soldering iron. The one thing holding me back is cases. With kids and a dog, I’m honestly not too interested in leaving bare electronics sitting on my desk. I want a pretty case too, and that mostly means 3D printing. I never had any room for a printer, and online printing costs were pretty prohibitive in my area last I checked.


